You step into the bathroom still half-awake, turn on the shower, and wait for the water to warm. Then, your eyes drift to the corner of the tiles, and that is when you see it—a dark, mouldy patch that sits along the sealant.
Your first instinct is to mentally block out part of your weekend for scrubbing. But before you do that or start eyeing expensive cleaners, it is worth slowing down.
There is a good chance you already have what you need at home. So, let’s take a look at some DIY options that actually work.
Understand Why Mould Keeps Appearing
Before you start cleaning, it helps to understand what you’re up against.
Mould thrives in environments with poor ventilation and excess moisture. Bathrooms offer it everything it needs: steam from showers, water splashes that never quite dry, and surfaces like grout and sealant that trap dampness.
Every hot shower fills the room with humid air. When that moisture can’t escape, it cools and settles on walls, ceilings, and tiles. Over time, mould spores in the air take advantage and begin to grow.
This is why removal alone rarely solves the problem. If the conditions remain the same, the fungus will simply come back.
Prepare Yourself and the Space
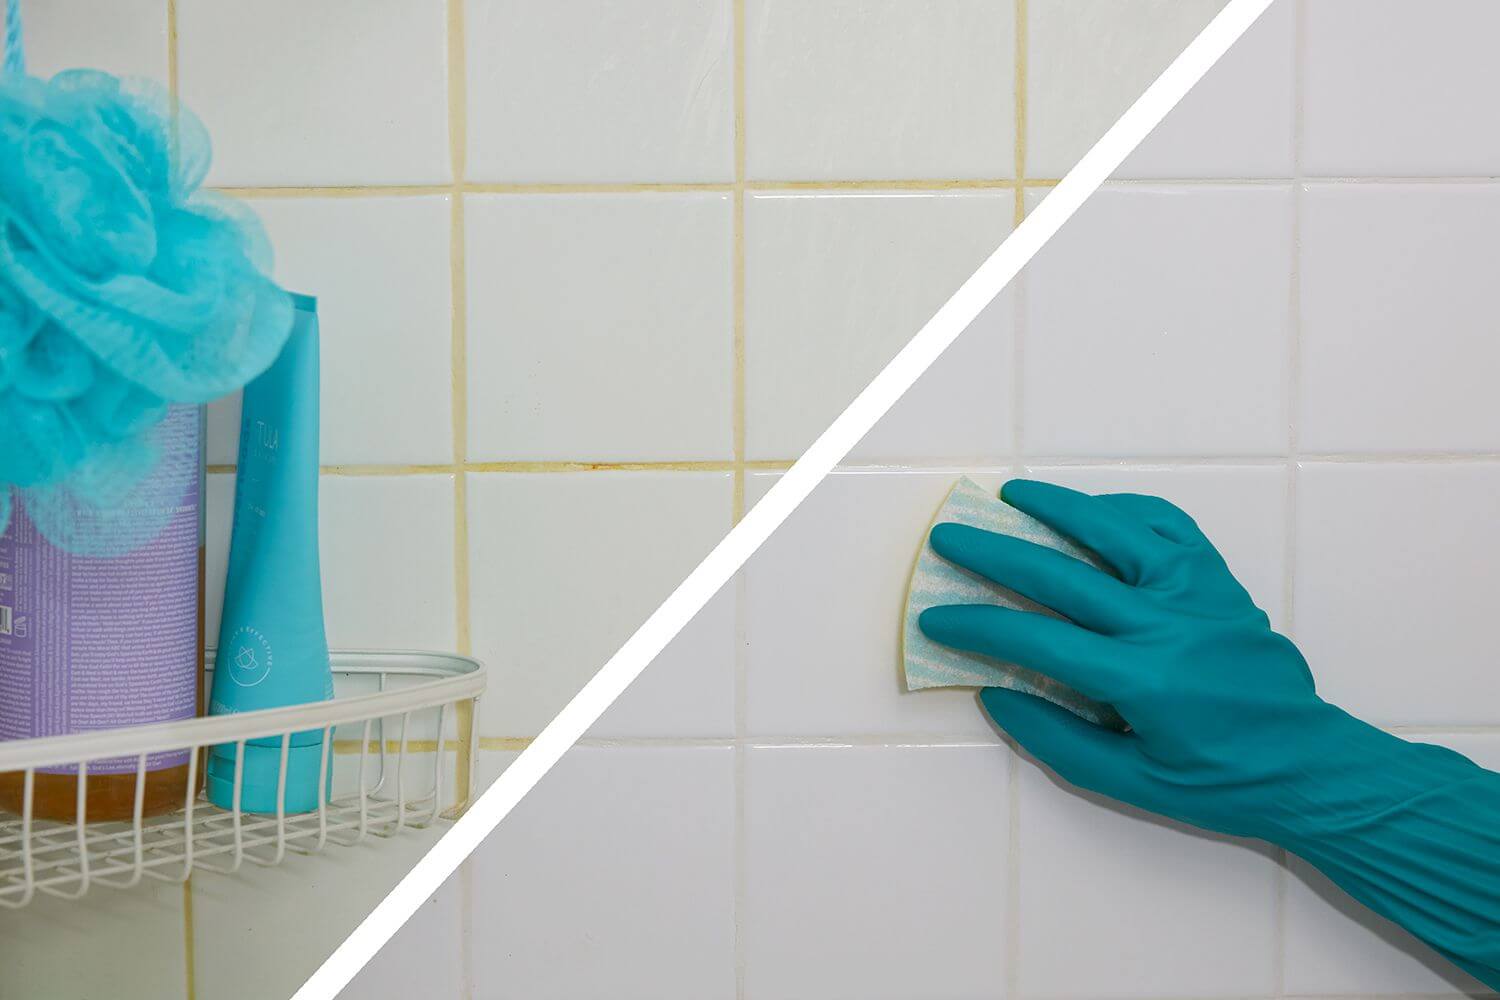
When disturbed, mould releases spores into the air that can irritate your skin, eyes, and lungs. That’s why basic protection matters more than you might expect. So, pull on rubber gloves, wear a face mask, and choose clothes you won’t mind getting stained.
Also, before you start, open a window or turn on the extractor fan so fresh air keeps moving through the room.
Next, clear the area completely. Remove toiletries, bottles, and any accessories nearby. This will give you full access to the affected surfaces and prevent spores from settling on items you use every day.
With the space cleared and ventilation improved, you’re set up to clean properly, without rushing, spreading mould elsewhere, or adding unnecessary frustration to the job.
Start with White Vinegar
For most mould issues, white vinegar is the best place to begin. It’s acidic enough to break down fungus but gentler than many commercial cleaners. It also penetrates porous surfaces, like grout, which is where mould often hides.
Pour undiluted white vinegar into a spray bottle and coat the affected areas generously. The surface should be visibly damp, not lightly misted.
Now, leave the vinegar to sit for at least 60 minutes. This will give it time to weaken the mould at the source.
Once the time is up, scrub using a brush or sponge. Work methodically in small sections and rinse your cleaning tool often to avoid spreading spores.
Bring in Baking Soda for Stubborn Areas
If some patches refuse to budge, don’t be tempted to scrub harder straight away.
Grout lines and silicone sealant tend to hold onto moisture, which makes mould more persistent. Baking soda helps here by adding gentle abrasion without damaging your surfaces.
For the best results, mix baking soda with a small amount of water until it forms a thick paste. Then, apply it directly to the stubborn areas and let it sit for around 10 minutes.
Scrub with steady pressure, focusing on textured areas where mould tends to cling. Once clean, rinse everything well to remove the residue.
Use Hydrogen Peroxide for Deeper Cleaning
If the mould stains are darker or keep returning, it’s time to step things up slightly.
A 3% hydrogen peroxide solution works well on tiles, grout, and other non-porous surfaces. It disinfects and breaks down organic matter at the same time.
Apply it using a spray bottle and allow it to sit for 10–15 minutes. You may notice gentle bubbling as it works, which is completely normal. Afterwards, scrub the area and rinse it well.
This method is particularly useful in shower corners and along tile edges.
Keep It Simple with Lemon Juice
If you catch mould early, lemon juice can be all you need. It’s a gentler option that works well on small patches.
The natural acidity helps lift surface mould and stains without being harsh, which makes it handy for regular upkeep.
Squeeze two lemons, apply the juice directly to the area, and let it sit for about 15–20 minutes.
After that, scrub gently and rinse with warm water. It’s quick, low effort, and will leave your bathroom smelling zesty.
Apply Tea Tree Oil for Ongoing Protection
If you’re looking for an option that’s both effective and fragrant, tea tree oil is a solid pick. It has natural antimicrobial properties, making it useful for keeping mould from settling back in once you’ve cleaned everything properly.
Mix one teaspoon of tea tree oil with one cup of water in a spray bottle and give it a good shake. Spray it over areas that tend to attract mould, such as grout lines, corners, and around sealant.
Let the solution sit for at least 60 minutes. There’s no need to rinse the surfaces unless the scent feels too strong.
Used regularly, this is an easy way to discourage fungus from making itself comfortable again.
Try Grapefruit Seed Extract
If strong smells give you a headache, grapefruit seed extract is a much easier option to live with. It does the job effectively, without the sharp vinegar hit or the lingering scent of essential oils that never quite leave.
Once the area is already clean, mix 10 drops of grapefruit seed extract with one cup of water and spray it lightly over the surface.
There’s no need to soak everything or scrub again. Just leave the solution in place and let it get on with its job in the background. It’s a low-effort way to keep mould from making a comeback.
Prevent Future Growth
You’ve put in the effort to get rid of the mould, so the last thing you want is for it to stage a comeback tour. Fortunately, a few simple habits can help you keep your bathroom fungus-free for the long run.
- Improve ventilation. Switch on the extractor fan every time you shower and let it run for a while afterwards. If you don’t have a fan, open a window and keep the door slightly ajar to help steam escape.
- Dry wet surfaces quickly. Wipe down tiles, glass, and sealant after bathing. It only takes a few seconds to remove the moisture that mould needs to settle in.
- Fix leaks as soon as you notice them. Even small drips under sinks or around taps create damp spots that fungus loves.
- Avoid adding extra moisture. Drying laundry in your bathroom raises humidity quickly and gives mould exactly what it wants. So, use another room or a well-ventilated space whenever possible.
- Consider professional services. If mould keeps returning or covers a large area, it’s a good idea to seek professional cleaning help. Those experts can deal with it safely and effectively.
Conclusion
Mould is annoying, but it’s not invincible, and it definitely doesn’t need to become a permanent feature in your home.
With a few everyday products and a bit of consistency, you can keep it under control without turning cleaning into a full-time job. So, open the window, grab your spray bottle, and get started while the motivation is still there!